Continue on your Own
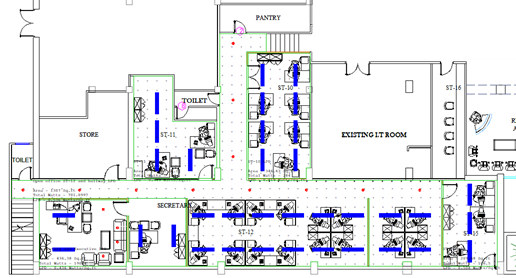
It’s time for you to experiment on your own by placing additional luminaires in the remaining areas: ST-11, ST-15, Secretary & Executive and the other hallway. You can use any of the techniques we have used (Room Estimator, Array, Copy) as well as a few more basic techniques as discussed below.
To place luminaires from the toolkit:
- Set the mounting height (MH),(required)
- Set the Orient (optional)
- Select which luminaire to place
- Use Locate: drops a luminaire with each click with specified angles from toolkit.
- Use Locate & Orient: the first click drops the luminaire, the second click sets the Orient angle. Keep the cursor close to the first click to hit even angles like 90, 180 etc.
- Locate & Aim is for projection luminaires (track, flood), not useful here.
- Use the luminaire Move command (Single, Window options), watch the command line for expected inputs.
Here is what we did:
- Returned to Luminaire Define and changed the symbol colors for visibility (Set Line Color in Drawing symbol area).
- Used the Locate command to add additional downlights in the Hallway and Executive office. Be aware of ceiling heights, all closed offices are 9’, the Secretary and Executive and Open office are 10’. Recessed downlights go in the ceiling, Pendants must be suspended!
- Used several Copy commands (single and window) to place pendants.

 RESCUE
Open RESCUE-Intermed_Interior-6.AGI


